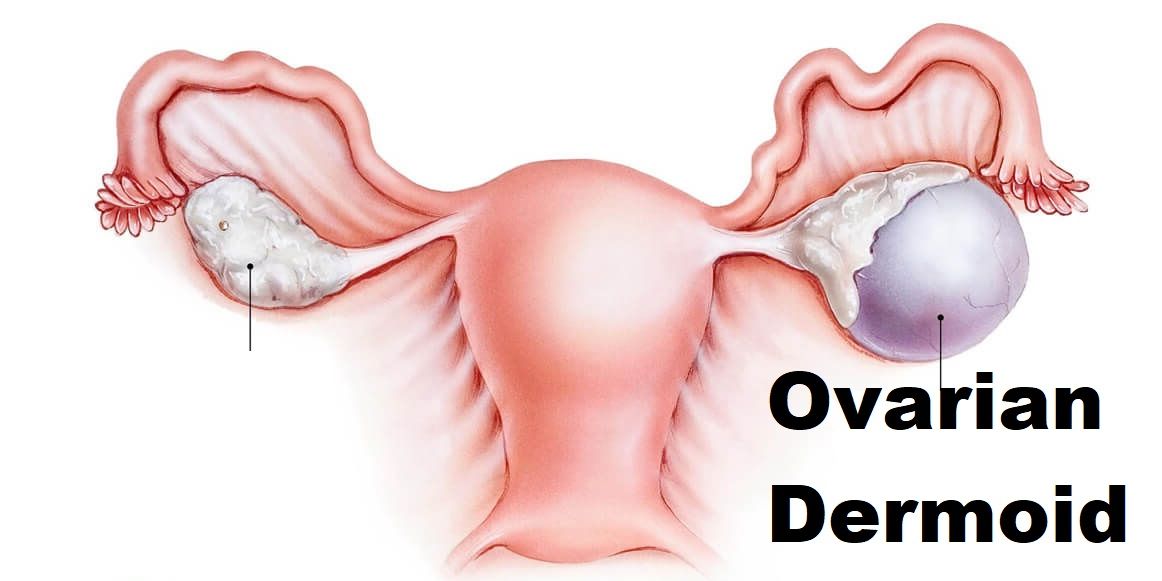
Task Analysis For Dermoid Cyst Removal
DR. S. ABINAYA MBBS, MS (OBG), FMAS
1. Patient to be anesthetized.
2. Patient to be placed in lithotomy position with 15-degree head down.
3. Abdomen and perineum to be painted and draped
4. The surgeon has to be on the patient’s left side, an assistant on the right side and 2nd assistant if needed in between patients legs for uterine manipulation
5. Monitor to be placed 15 degrees below the visual axis of the surgeon on the opposite side.
6. All the equipment placed on the opposite side of the surgeon
7. Camera, light source, insufflator, and electrosurgical unit to be plugged into their respective equipment and all cables tied
over upper drape using a gauze and towel clip.
8. Telescope with a camera attached to the light source.
9. Laparoscopic mode to be “on “on the camera cable attachment instrument
10. White balancing and focussing of camera done by placing the camera at a focal length of 10cm from gauze piece.
11. Over inferior crease of the umbilicus, place 2 Allis tissue holding forceps on either side and give 2mm stab incision with No.11 blade.
12. Dilate rectus muscle until rectus sheath with mosquito forceps.
13. Measure the thickness of the anterior abdominal wall and add 4cm.
14. Take a veress needle of 12cm
15. Spring action and patency of veress needle has to be checked.
16. Hold verres needle like a dart at the measurement taken by adding 4cm to the anterior abdominal wall.
17. Lift the lower abdominal wall with the left hand and hold Veress in the right hand.
18. Veress should be held perpendicular to the lower abdomen and 45o to the upper abdomen.
19. Direct Veress towards the anus.
20. 2 clicks to be heard to say that it has passed intraperitoneally. 1st click is heard as it passes via rectus sheath and 2nd click when it enters via general peritoneum.
21. Confirmation that Veress needle is intraperitoneal is by hanging drop test and aspiration test.
22. Insufflator tubing to be connected to Veress which contains CO2 and creates pneumoperitoneum
23. Preset pressure is set at 12mm Hg and flow rate at 1 liter/ mt.
24. As soon as CO2 flow starts, look over insufflator for quadromanometric measurements mainly actual pressure and total volume of gas used.
25. These 2 parameters should raise parallel.
26. Check for liver dullness at 200 cc flow of CO2
27. To reach an actual pressure of 12mm Hg, minimal volume of gas should be 1.5 liters.
28. Once the actual pressure of 12mm Hg attained, Veress needle to be removed.
29. Incision over inferior crease extended to 10-11 mm as smiling incision.
30. With the help of an assistant, lift the lower abdominal wall.
31. Hold 10mm port over the thenar eminence like a pistol
32. Place it perpendicular to the abdomen and by screwing movements, pass it intraperitoneally directed towards the anus.
33. It is confirmed to be intraperitoneal by hearing a click, whooshing sound and also loss of resistance.
34. Now pass a 10mm telescope via the Cannula with light source attached
35. Visualize and confirm that cannula is intraperitoneal.
36. Visual inspection of the entire abdomen in a clockwise manner to be done.
37. Check for the side and size of dermoid cyst.
38. Based on the baseball diamond concept, 2 ipsilateral 5mm secondary ports made. 1stport is 7.5cm from primary port and 2ndport, 7.5cm from 1stport along the 18 cm arc.
39. These secondary ports are made under transillumination to avoid inferior epigastric vessel injury.
40. These ports have to be placed such that the manipulation angle is 60degrees, elevation angle is 30 degrees and azimuth angle from 30 degrees to a maximum of 60 degrees as they are ipsilateral ports.
42. Check for any adhesions.
43. If present, adhesions to be released with harmonic and near the bowel and bladder, by scissors.
44. Pass Maryland grasper via left hand through the lower-left accessory port and hold the dermoid cyst.
45. Pass harmonic using right hand via the upper left secondary port.
46. Give a small incision using harmonic over the dermoid cyst.
47. Remove the harmonic and pass another atraumatic grasper
48. Hold the incised ovarian tissue wall with Maryland dissectors.
49. Hold cyst wall with an atraumatic grasper.
50. Stripping of the cyst from ovarian tissue wall to be done.
51. Complete enucleation of cyst has to be done and Care should be taken not to rupture the cyst.
52. If accidentally ruptured and content leaked, copious lavage using three litre of NS is done and that is repeated three times
51. Remove the entire cyst leaving ovary without destroying ovarian tissue so as to not to reduce ovarian reserve. ovarian tissue is checked for any bleeders and remnant cystic tissue
52. Suction to be passed and check for any bleeders.
53.5mm telescope passed through 5mm secondary port incision on the left side.
54. Enucleated dermoid Cyst specimen brought out via 10mm port using endobag.
55.Endobag with enucleated cyst brought out along with the removal of port.
56. The cyst is broken and crushed using ovum forceps and endobag with cystic tissue removed through 10mm wound.
57. If there is hairball or bone-in the dermoid cyst, it can be removed by minimal extension of incision or by colpotomy using endobag
58. Replace the 10 mm telescope once the specimen removed.
58. Check for perfect hemostasis.
59. Abdomen deflated
60. Left secondary ports removed under vision
61. Now the primary port has to be removed by placing telescope inside and then slowly telescope removed in such a way that omentum doesn’t entangle.
62. 10 mm port site closed using Veress needle.